The 'Feeds' module allows users to add annotations in images with markups of different shapes, special notes, etc. This is useful, for example,
- Marking rework zones after inspection
- Indicating missing installations or incorrect placements
- Tagging safety hazards
- Tracking progress with visual confirmations
- Clarifying design interpretation questions
By default, the markups made to an image from the 'Feeds' interface are visible to staff or workers who have access to the image.
Use the following links to jump to the respective sections you need help with:
To add markup to an image file
- Open the image file. If you haven't done so:
- Click the main menu at the top-left
- Click 'Feeds' under 'Field' menu
- Choose the desired category on the left
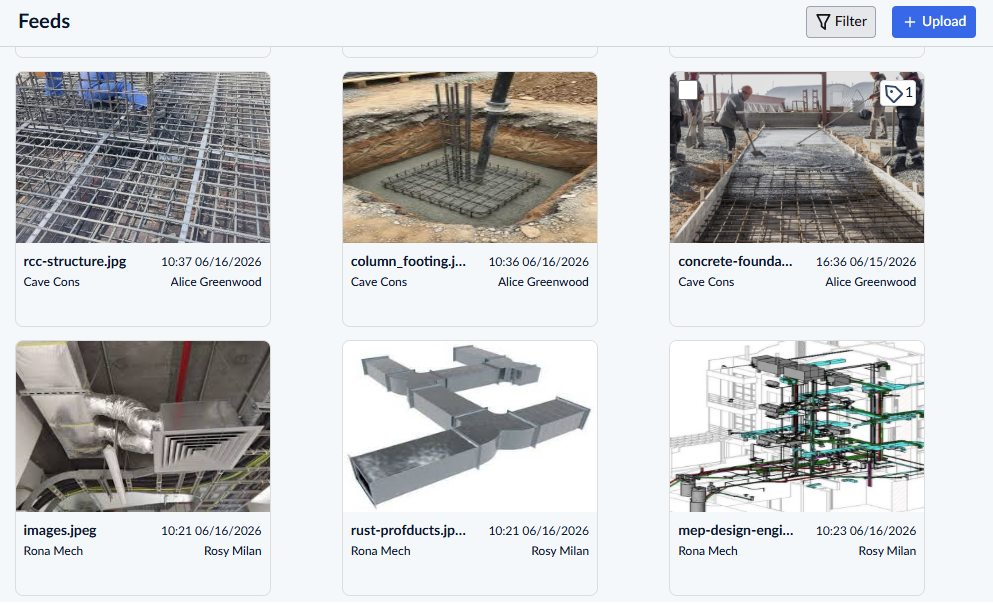
- Click on the image to open
If the image has any markups made earlier, it opens with the latest markup you created or shared with you.
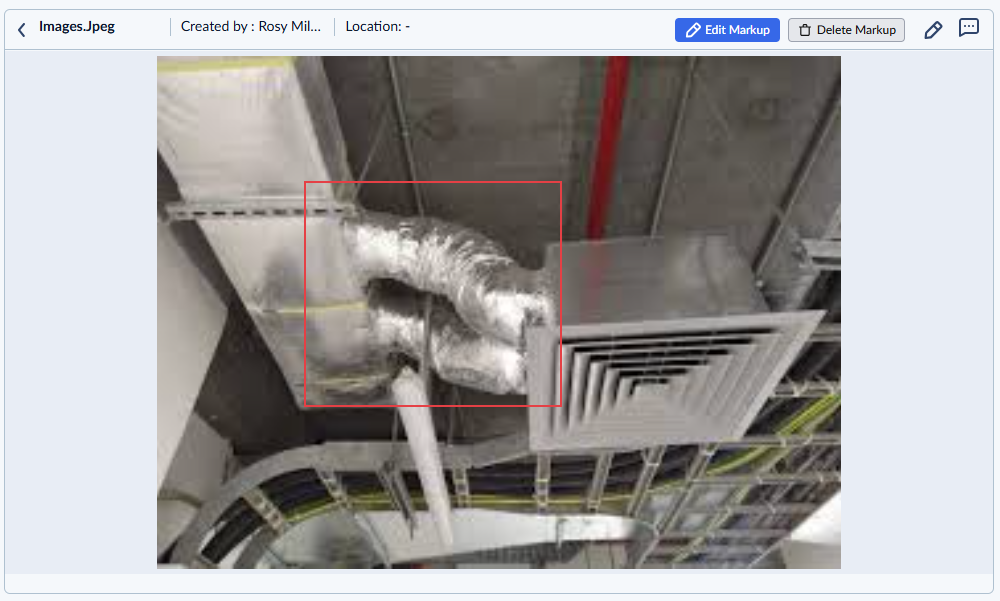
- Click
 at the top right to create an annotation. If not,
 - Click the
 button on the top right to start adding a new markup
- Use the toolbar on the top to add different types of markup elements to the image.
The markup process is similar to how annotations are added on plan sheets, making it intuitive and consistent. For detailed guidance, refer to the help articles linked in the table below, which are shared with the Plans module.
The toolbar contains the following tools to create different types of markup elements on the drawing:
 | - | Move the plan drawing across the screen, which is especially useful for focusing on specific details after zooming in. |
 | - | Highlight specific areas using a rectangle, ellipse, polygonal or cloud shape. You can customize the color, resize, rotate, and reposition these items. All area markups automatically display the dimensions of the enclosed space based on the sheet's drawing scale. See Mark areas and Mark an Area with Polygonal Shape for more guidance. |
 | - | Draw lines or arrows to point to specific locations or items. You can resize, rotate, and reposition them anywhere on the drawing. See Add Lines and Arrows for more guidance. |
 | - | Use the pencil or brush tools to draw freehand shapes and annotations or highlight specific areas or measurements/notes on the drawing with customizable color and transparency. See Create a free-form/freehand markup and Highlight Areas, Dimensions and Notes for more guidance. |
 | - | Insert text notes and comments using a fixed-size or adaptive text box. You can easily customize the font size and text color to suit your needs. See Insert Text Notes for more guidance. |
Each markup element you add is created as a layer over the image.
- Once done, click 'Save Markup' on the top right to merge the layers and save it as a single markup.
Edit Markup
- Click 'Edit Markup' on the right to start editing.
- Use the handles to resize or rotate the shape markups
- Click and drag the element to relocate
- Click on the markup you want and click the 'Trash' icon to delete that element
- Click the 'Save Markup' button once you make all the changes
Clone and Reuse Markup
- Open the image file as mentioned above. The image file opens with all the added markups on that image.
- Click 'Edit Markup' the button on the top right
- Click on the markup you want to clone and use the keyboard shortcut Ctrl+C.
- Use Ctrl + V to paste the markup. A clone of the markup is pasted above the existing one.
Once pasted, you can relocate, resize, and rotate the cloned version to fit your needs.
- Resize - Click and drag the handles (square) on the corners/sides to resize the element
- Rotate - Use the handle (blue dot) at the center of the element to rotate it
- Relocate - Click on the element, and drag it to the precise location you want to mark up
Delete All Markup Elements
- Open the image file as mentioned above
- Click the 'Delete Markup' button at the top right to delete all the markups
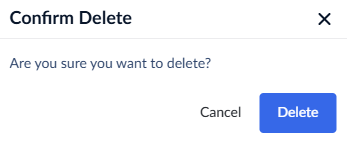
- Click 'Delete' to confirm your action.
Was this article helpful?
That’s Great!
Thank you for your feedback
Sorry! We couldn't be helpful
Thank you for your feedback
Feedback sent
We appreciate your effort and will try to fix the article