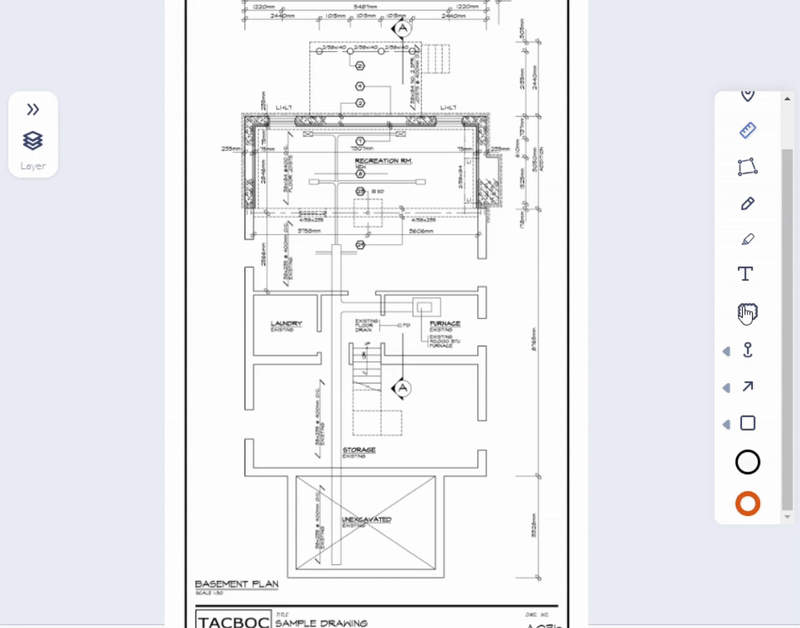
Cloud markups help you draw attention to specific areas on a plan sheet. Use them to highlight revisions, issues, or points that need review, making it easier for your team to spot important information at a glance.
- Easily adjust the size of the cloud to fit the area you want to highlight.
- Customize the appearance by changing the stroke width, color, and fill.
To add a cloud markup
- Choose the 'Cloud' tool from the toolbar
- Click on the location of the drawing where you want to place the shape.
- Click on the cloud and drag it to the precise location you want to mark up.
- Click and drag the handles at the corners and sides to resize the element.
The markup is added with the color, stroke width, and fill, with default settings or as set for the previous markup. You can change them as required.
To change the stroke color, width, and fill color
- Click on the markup to select it
- Click the 'Stroke' tool
- Choose the color from the palette
- Alternatively, use the color picker at the bottom right to choose a custom color.
- Size - Use the slider to set up the brush width for the markup
Fill color:
- Click the 'Fill' tool
- Choose the color from the palette
- Alternatively, use the color picker at the bottom right to choose a custom color
- Opacity - Use the slider to set up the transparency of the color fill
- Your selection takes effect on the currently selected markup and is auto-saved for your next markup tool.
The markup element is added as a layer to the 'Draft' group. It is shown in the layer editor on the left.
- Use the
 icon to show or hide the layer
 - Click the
 icon to remove an element added by mistake
 - Click the element label in the layer editor and edit it with a brief description of its purpose, if needed, to keep your elements organized.
- Go to the next tool if you want to add more markup elements
- Once you are done with the markup elements, save the layer group as a markup. See Publish Markups for more details
Was this article helpful?
That’s Great!
Thank you for your feedback
Sorry! We couldn't be helpful
Thank you for your feedback
Feedback sent
We appreciate your effort and will try to fix the article