The 'Stroke' tool lets you set up the appearance of markups like rectangles, circles, lines, arrows, etc.
- Choose the color and brush width for the selected markup on the plan. These settings apply to square/rectangle, circle/ellipse, triangle, cloud, polygon, line, arrow, pen, scale, and highlighter tools.
- Use the tool to select the color and font size of the text, when making a text markup.
To set up the stroke/font size and the fill color
- Open the plan and create the required markup
- Select the markup by clicking on it
- Click the 'Stroke' tool
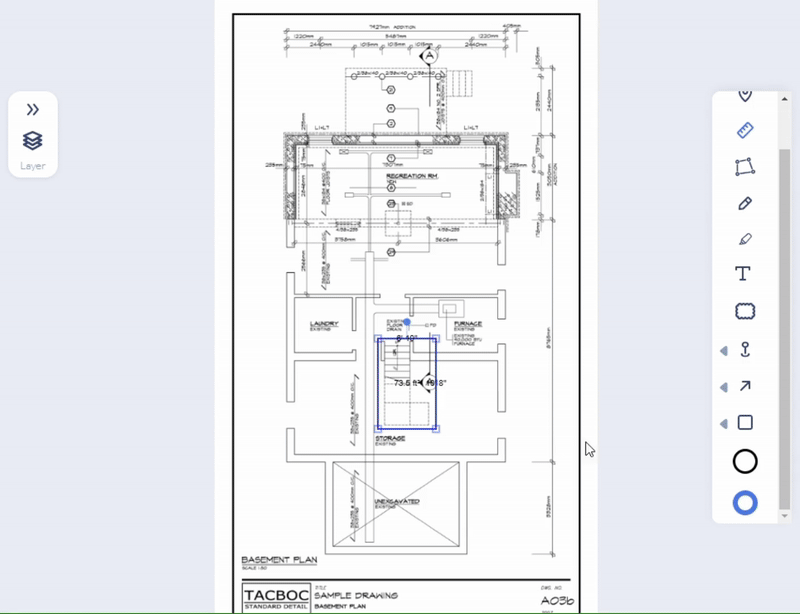
Stroke Width
- Choose the border color from the palette
- Alternatively, use the color picker at the bottom right to choose a custom color
- Size - Use the slider to set up the brush width for the markup
Fill Color
The Fill color applies to markups with bound shapes like rectangle/square, ellipse/round, triangle, cloud, and polygon. You can also set up the color and transparency for the highlighter tool using the fill tool.
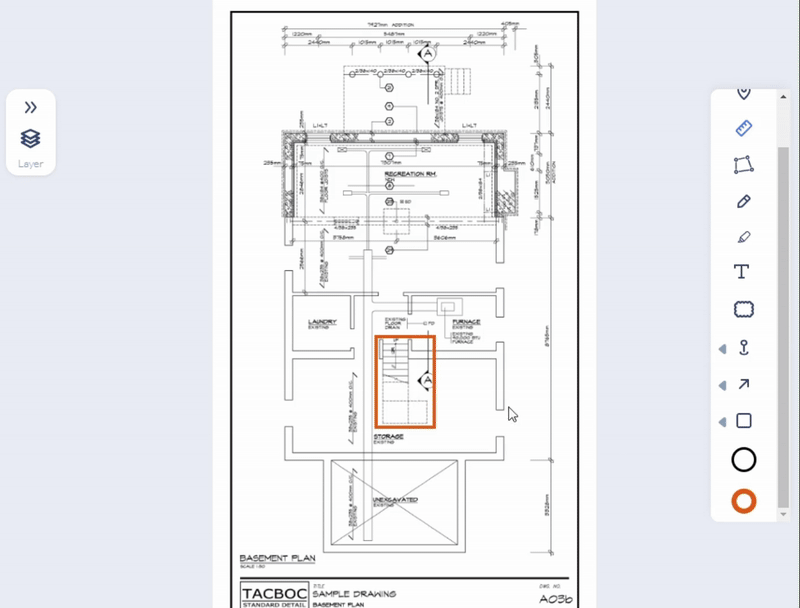
- Click the 'Fill' tool
- Choose the fill color from the palette
- Alternatively, use the color picker at the bottom right to choose a custom color
- Opacity - Use the slider to set up the transparency of the color fill
Your selection takes effect on the currently selected markup and is auto-saved for your next markup tool. Once you are done with the markup elements, click the icon to save the markup.
Was this article helpful?
That’s Great!
Thank you for your feedback
Sorry! We couldn't be helpful
Thank you for your feedback
Feedback sent
We appreciate your effort and will try to fix the article