The party that created the project in Linarc is designated as the project owner and can invite other stakeholders, such as the subcontractors, architects, consultants, vendors, etc., to collaborate on the project through Linarc. Once the invited party accepts the invitation, they can access the project from their Linarc account and manage it.
Note: You can invite only those companies who are already added as your vendors at your company level. If the company you want to add is not available in the selection list, contact your company administrator.
To invite new companies
- Ensure that you are in the 'Directory' module of the project. If not, follow these steps:
- Click the main menu at the top left.
- Click 'Settings' under 'Project' in the drop-down menu.
- Click 'Directory' from the top menu.
- Hover your mouse over 'Contractors' in the left-hand menu and click 'Invites'.
- Click the '+ Add Companies' button at the top right.
The 'Invite New Companies' screen shows the list of subcontractors and vendors registered as partners at your company level:
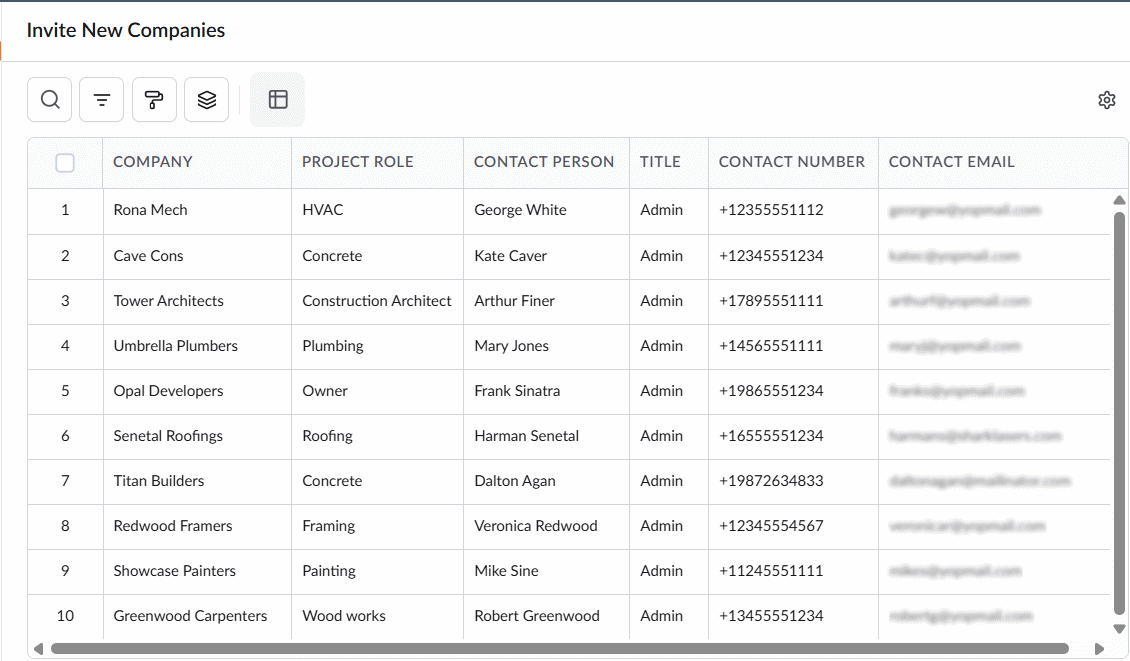
- Select the subcontractors and vendors you want to add to the project by clicking their serial numbers.
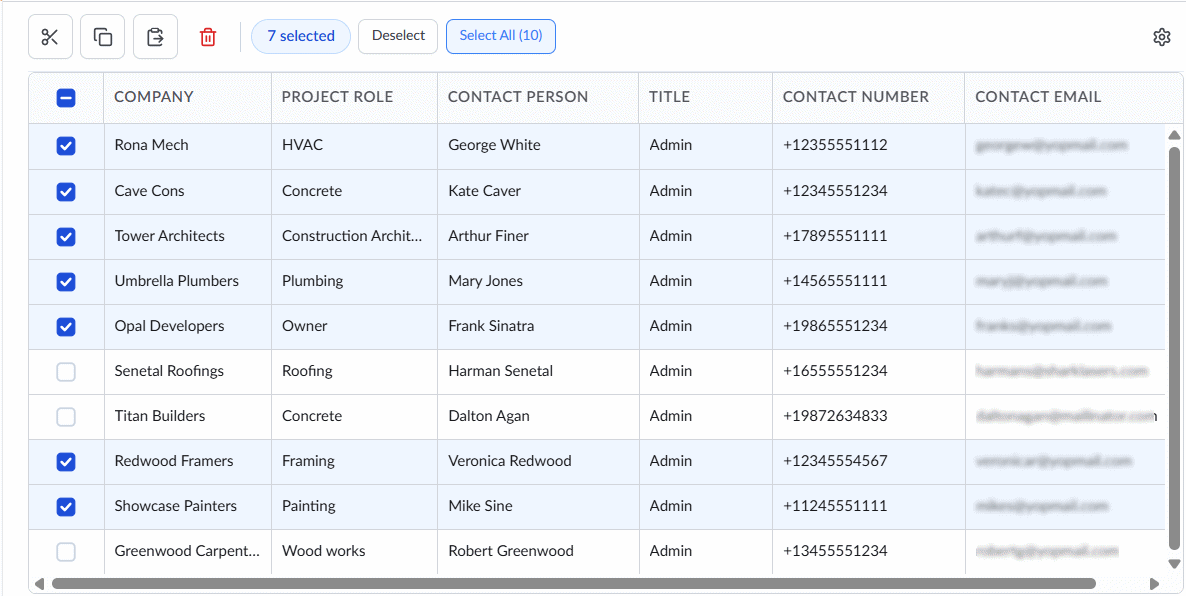
- Click 'Invite.'
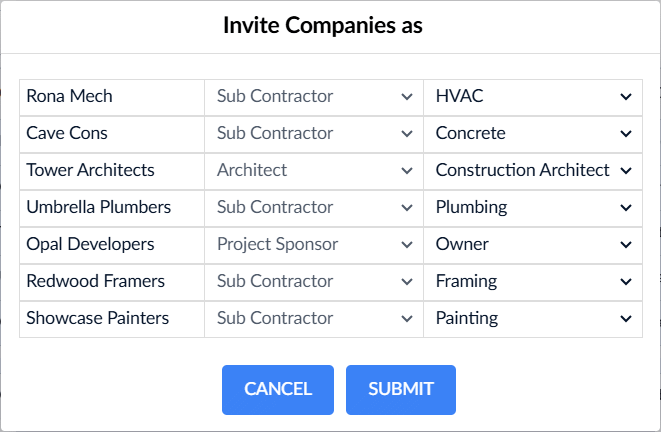
The next screen displays the selected companies, including their role and trade as registered in your company-level directory.
- Update the 'Role' and 'Trade' fields if needed.
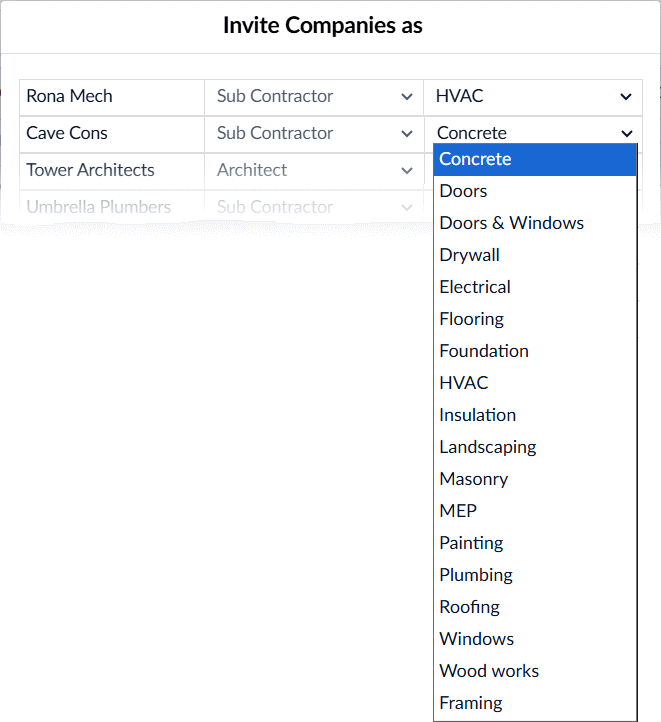
- Click 'Submit.'
Linarc will send invitations to the selected companies to join the project. A designated contact at each company (such as a director or project manager) receives the notification, reviews the invite, and upon acceptance, assigns a project manager to your project. For more details, see Accept Invitations to Collaborate.
Once a company accepts the invitation:
- You can assign work, schedule tasks, add them to document approval workflows and more.
- The subcontractor's project manager can access your project through their Linarc portal and begin work.
Search, Filter, and Sorting Options
- Click the magnifier icon and use the 'Search' box at the top left to find an entry using any value from the table as search criteria
- Click any column header to sort the rows in ascending or descending order based on that column's data.
- Click the cog wheel icon at the top right to adjust the display density and customize the display and order of the columns
- The options at the top left allow you to filter the entries, create nested groups of entries, and manage personalized and customized views of the table. Use the links below to learn more:
Was this article helpful?
That’s Great!
Thank you for your feedback
Sorry! We couldn't be helpful
Thank you for your feedback
Feedback sent
We appreciate your effort and will try to fix the article