The list views on various modules like the RFI, Submittals, Change Orders, Punch list, etc., enable you to apply custom color formatting to cells, visually emphasizing data according to your specific criteria and requirements. Highlighting cells allows users to quickly draw attention to critical information, monitor status changes at a glance, and improve overall data analysis.
Each highlight is constructed with conditional rules to format and color-code the appropriate cells when the data matches your defined values.
Use the links to jump to the section you need help with:
The processes of creating, managing, and sharing highlight rules are similar across all table views. In this article, we use the T&M logs view as an example, but the same method can be applied to any table, allowing you to highlight cells as required.
Note:
Cell highlights cannot be saved for future use. This feature provides a temporary visual highlight of the data in the current list view and will reset when you leave or refresh the page.
Create Highlight Rule
- Ensure that the list for which you want to create a custom view is open.
- Click the
 icon from the top left of the list view
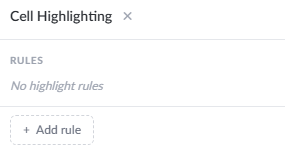
- Click '+Add rule' button
- Select the desired column to add it as the criteria for the highlight
- Choose the condition. The conditions available depend on the selected column
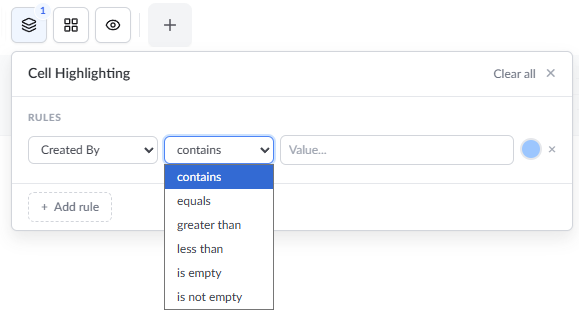
- Enter or select the highlight value. The option is available as a drop-down, calendar, or text box, depending on the column chosen.
- Click the colored dot near the highlight rule and select a desired color for the highlight from the palette. You can also enter the hexadecimal code present in the box (without # symbol) to give a custom color to your highlight
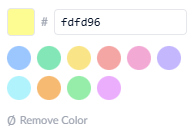
The highlight rule is applied automatically
- Click 'Add rule' and repeat the process to add more highlight rules
The grid now shows only the rows that satisfy the rules applied sequentially. You can save the filter by creating a custom view for the table with this filter applied.
Remove Highlighting
- Ensure that the list for which you want to create a custom view is open.
- Click the icon from the top left of the list view
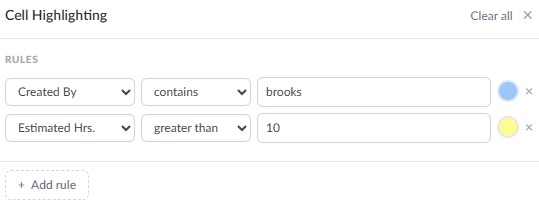
- Click 'X' mark to remove individual filters/filter sets
- Click 'Clear all' at the top left to remove all filters/filter sets at once
Was this article helpful?
That’s Great!
Thank you for your feedback
Sorry! We couldn't be helpful
Thank you for your feedback
Feedback sent
We appreciate your effort and will try to fix the article