Linarc’s integrated annotation tool empowers teams to overlay markups, stamps, and notes on PDF documents saved across the Company, Project, and System Drives. This allows members to engage in precise visual communication directly within any PDF document without altering the original source file, ensuring that critical feedback is captured while maintaining the integrity of the project record.
- Formalize documents and highlight key points of interest by affixing text notes, approval stamps, and signatures directly onto the PDF interface.
- Create multiple, distinct sets of annotations on a single document, each saved with a unique label, and seamlessly toggle between the original version and various saved sets to compare feedback.
- Manage security through role-based access where document owners and members with 'Contribute' permissions can create markups, while those with 'View' access can see all existing annotations.
Use the links below to jump to the section you need help with:
- Annotate Your PDF
- Resize and Reposition Annotations
- Add Comments
- Save Annotation
- Clone and Reuse Annotation Elements
- Delete Annotations
Annotate Your PDF
- Open the drive or folder containing the file you want to annotate. To do so:
- Open the project management console
- Click the app launcher
 and select 'Project.'
 - Select 'Drive' from the options on the left
- Select your company name, or 'Project', or 'System' on the left to open the required drive
- Navigate to the folder or subfolder and locate the PDF file you want to annotate
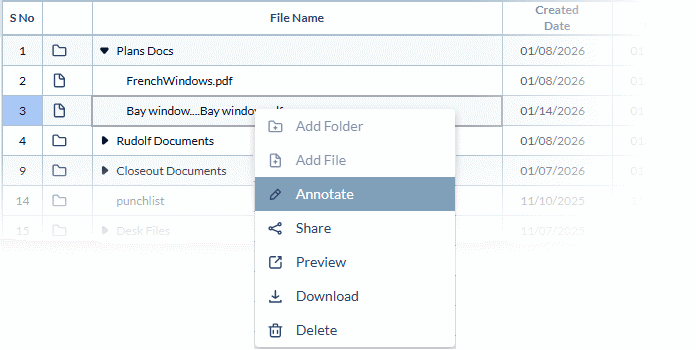
- Right-click on the PDF file and select 'Annotate' from the options
The PDF opens with a toolbar at the top that lets you create different types of markup elements:
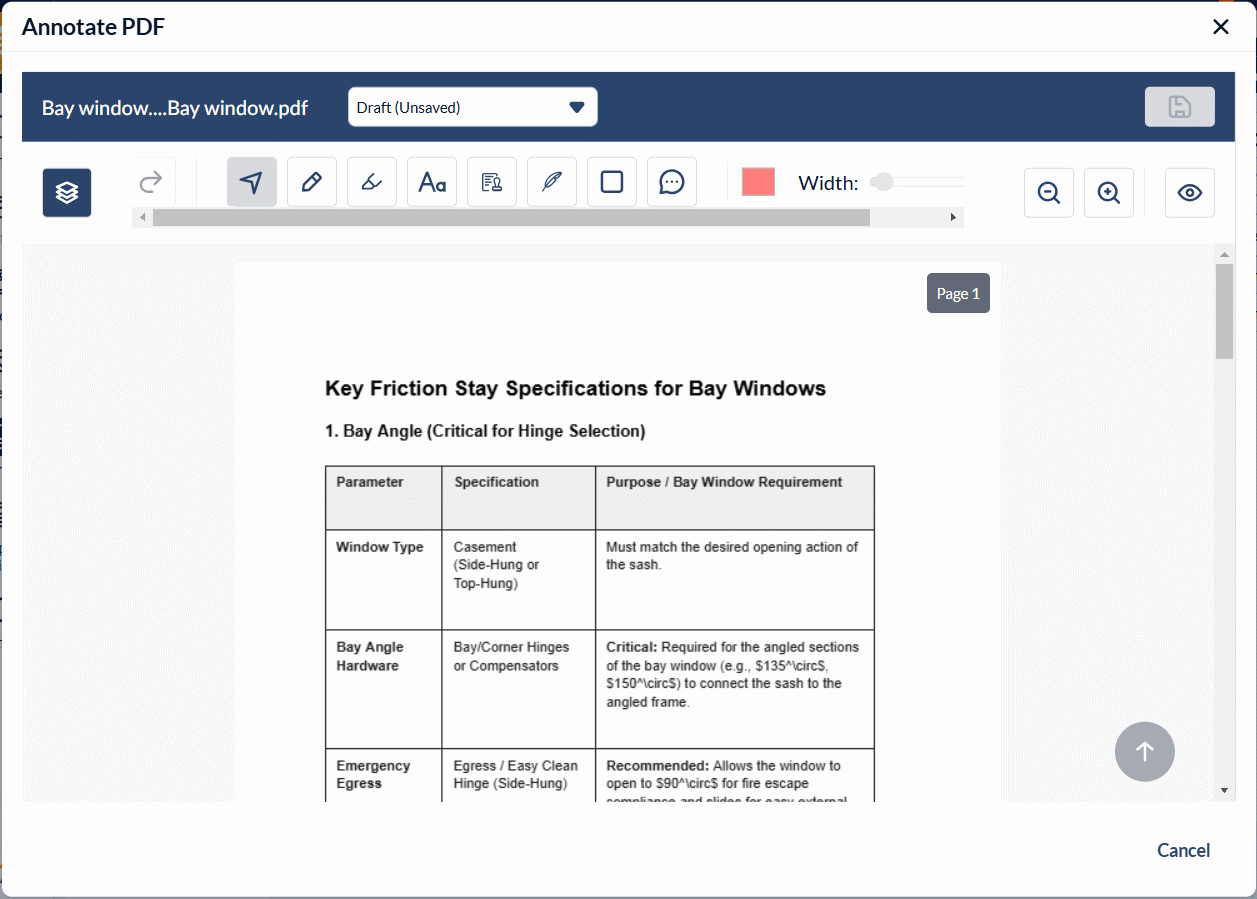
- Select the tool you want to use and click on the point where you need to add that annotation.
 | - | Selector - Use the selector tool to choose an existing annotation to edit, move, or resize. |
 | - | Freehand Markups - Draw sketches or handwritten notes directly on any document page using the Pencil tool. You can set your preferred line thickness and color. Customize your markup by selecting the desired stroke color and line thickness from the respective tools. See below this list for instructions.
|
 | Highlighter- Use the Highlighter tool to emphasize critical information with a transparent color overlay. Customize your markup by selecting the desired stroke color and line thickness from the respective tools. See below this list for instructions.
| |
 | - | Text Tool - Use the Text tool to add notes, comments, or labels directly onto the document. This allows for precise placement of on-the-spot instructions and feedback where they are needed.
|
 | - | Stamp- Use the 'Stamp' tool to officially certify documents as reviewed, approved, or finalized. This tool allows you to affix standardized company seals and validation markers directly onto the document interface.
|
 | - | Signature - Apply your saved digital signature for formal document endorsement and authentication. This feature pulls the predefined signature directly from your Linarc profile, ensuring professional consistency across all project documents.
|
 | - | Rectangle Tool - Use the Rectangle tool to visually highlight specific areas or text blocks within a PDF. This tool allows you to frame important information, making it stand out for other team members and stakeholders.
|
 | - | Comment Tool- The Comment tool opens a threaded side panel for detailed discussions and feedback. This allows team members to collaborate and reply to one another directly within the document context without cluttering the page with excessive text.
|
 | - | Color Tool- Use the Color tool to customize the appearance of your markups. This setting applies to all annotation types except stamps, signatures, and comments, which use predefined profile or system colors.
|
 | - | Stroke Tool - The Stroke tool allows you to customize the line thickness of your annotations. Adjusting the stroke ensures that your drawings and frames remain visible and distinct against various document backgrounds.
|
 | - | Magnifier- The Magnifier tool adjusts the view magnification, allowing you to inspect fine details closely or zoom out to see the full page layout. This ensures precision when placing markups on complex technical drawings or small text.
|
 | - | Show/Hide - The Show/Hide tool allows you to toggle the visibility of all annotations. This is essential for comparing the annotated version with the clean, original document without permanently removing any feedback.
|
  | - | Undo and Redo- The Undo and Redo tools provide a quick way to manage recent changes, ensuring accuracy during the annotation process. Use Undo to instantly reverse your most recent action, such as correcting a mistake or an accidental placement.
|
Resize and Reposition Annotations
After adding any markup to the file, you can resize and reposition them to suit your needs.
- Click the
 icon from the toolbar at the top
 - Click on the markup you want to resize or reposition.
- Resize- Use the handles at the corners to change the size of the markup.
- Reposition - Click the markup to select and drag the cursor to relocate it to the desired position
Note: Freehand notes, makrkups and highlights cannot be resized.
Add Comments
- Click the
 icon from the toolbar at the top
 - Click on the location where you want to add the comment
A threaded comment panel opens on the right

- Start typing the comment you want to add in the text box present at the bottom. The comment will be added with your name, date, and time stamp.
- Replies from other team members appear on the same pane
Save Annotation
Once all annotations are added, save them as a set with a descriptive label.
- Click the
 icon on the top right to save the annotations
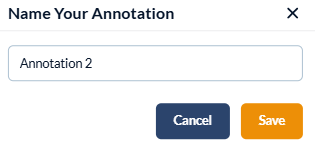
The system assigns a default name to the annotation set, which you can change before saving.
- Enter the name for your new annotation set and click the 'Save' button.
Clone and Reuse Annotation Elements
- Click on the element you want to clone and use the keyboard shortcut Ctrl+C to copy it
- Use Ctrl + V to paste the markup. A clone of the markup is pasted below the existing one.
- Relocate the element by dragging it to your desired spot.
- Use the handles at the corners to resize and rotate the cloned version to fit your needs.
Delete Annotations
- Click on the element you want to delete or use the icon to select the element
- Click the 'Delete' key on the keyboard
- To delete all the elements in the annotation set at once, click the
 button on the top right
- Click 'Delete' to confirm your action
Was this article helpful?
That’s Great!
Thank you for your feedback
Sorry! We couldn't be helpful
Thank you for your feedback
Feedback sent
We appreciate your effort and will try to fix the article