Linarc's mobile checklist empowers team members with the necessary permissions to create and manage checklists for a wide range of activities, including events, inspections, safety checks, tasks, and self-performed work. These checklists can then be assigned to the appropriate individuals for execution.
- Checklists are generated from pre-built templates maintained in the company-level master list. These templates cater to various inspection types and operational needs, ensuring consistency and standardization across projects.
- Each checklist template includes multiple sections, with each section containing a set of items. These items support various input field types, such as:
- Checkboxes
- Radio buttons
- Date pickers
- Numeric entries
- Text fields
- Dropdown menus with preconfigured options
- Checklist creators can assign them to any team member across participating companies. For self-performed tasks or inspections, creators may assign the checklist to themselves.
- Assignees can access and complete their checklists via the web console or the mobile application, depending on their role and location.
To create a new checklist
- Open the T&M module of the project from the Linarc OneApp.
- Tap the plus button
 at the bottom right
The Checklist template screen opens:

- Tap the template you want to use
The next screen shows the general details and the sections and items/fields in the template.
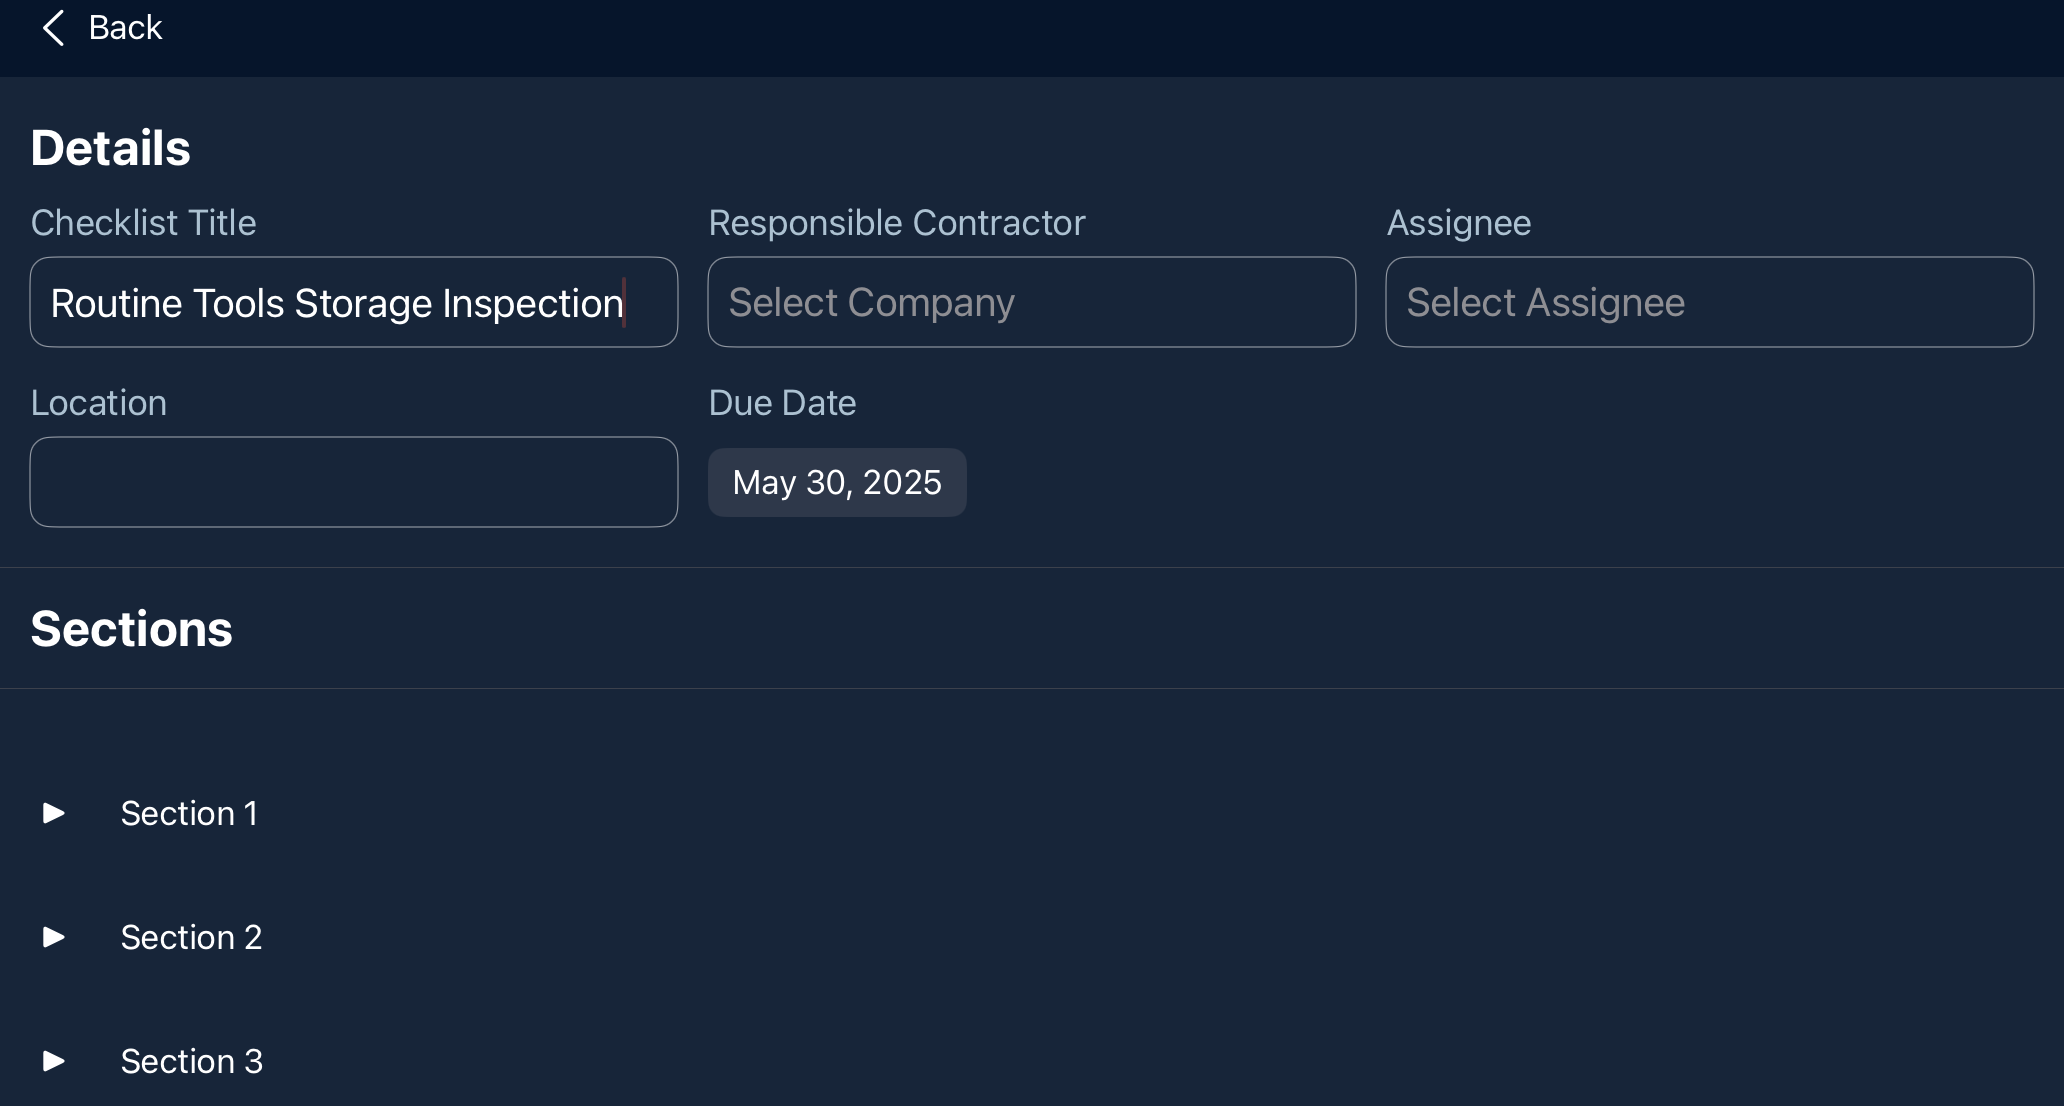
Enter the general details:
- Checklist Title: The label assigned to the checklist. By default, this field is automatically filled in with the name of the template used to create the checklist, followed by a numerical suffix (e.g., "Safety Audit - 2"). The suffix indicates how many times that particular template has been used to generate a checklist, helping to differentiate between multiple instances. Edit the title as desired, if required.
- Responsible Contractor: Select the contractor company responsible for executing the event or inspection. If the responsibility lies with you or your team, you can select your own company.
- Assignee: The individual who will perform the task. Only the responsible party—typically a project manager from the contractor organization to whom the checklist is assigned—can designate an assignee from their team. Leave this field blank during the initial checklist creation.
- Location: Specify where the event or inspection will take place on the construction site. This is optional.
- Due Date: Use the calendar picker to set the deadline by which the event or inspection must be completed and the checklist submitted.
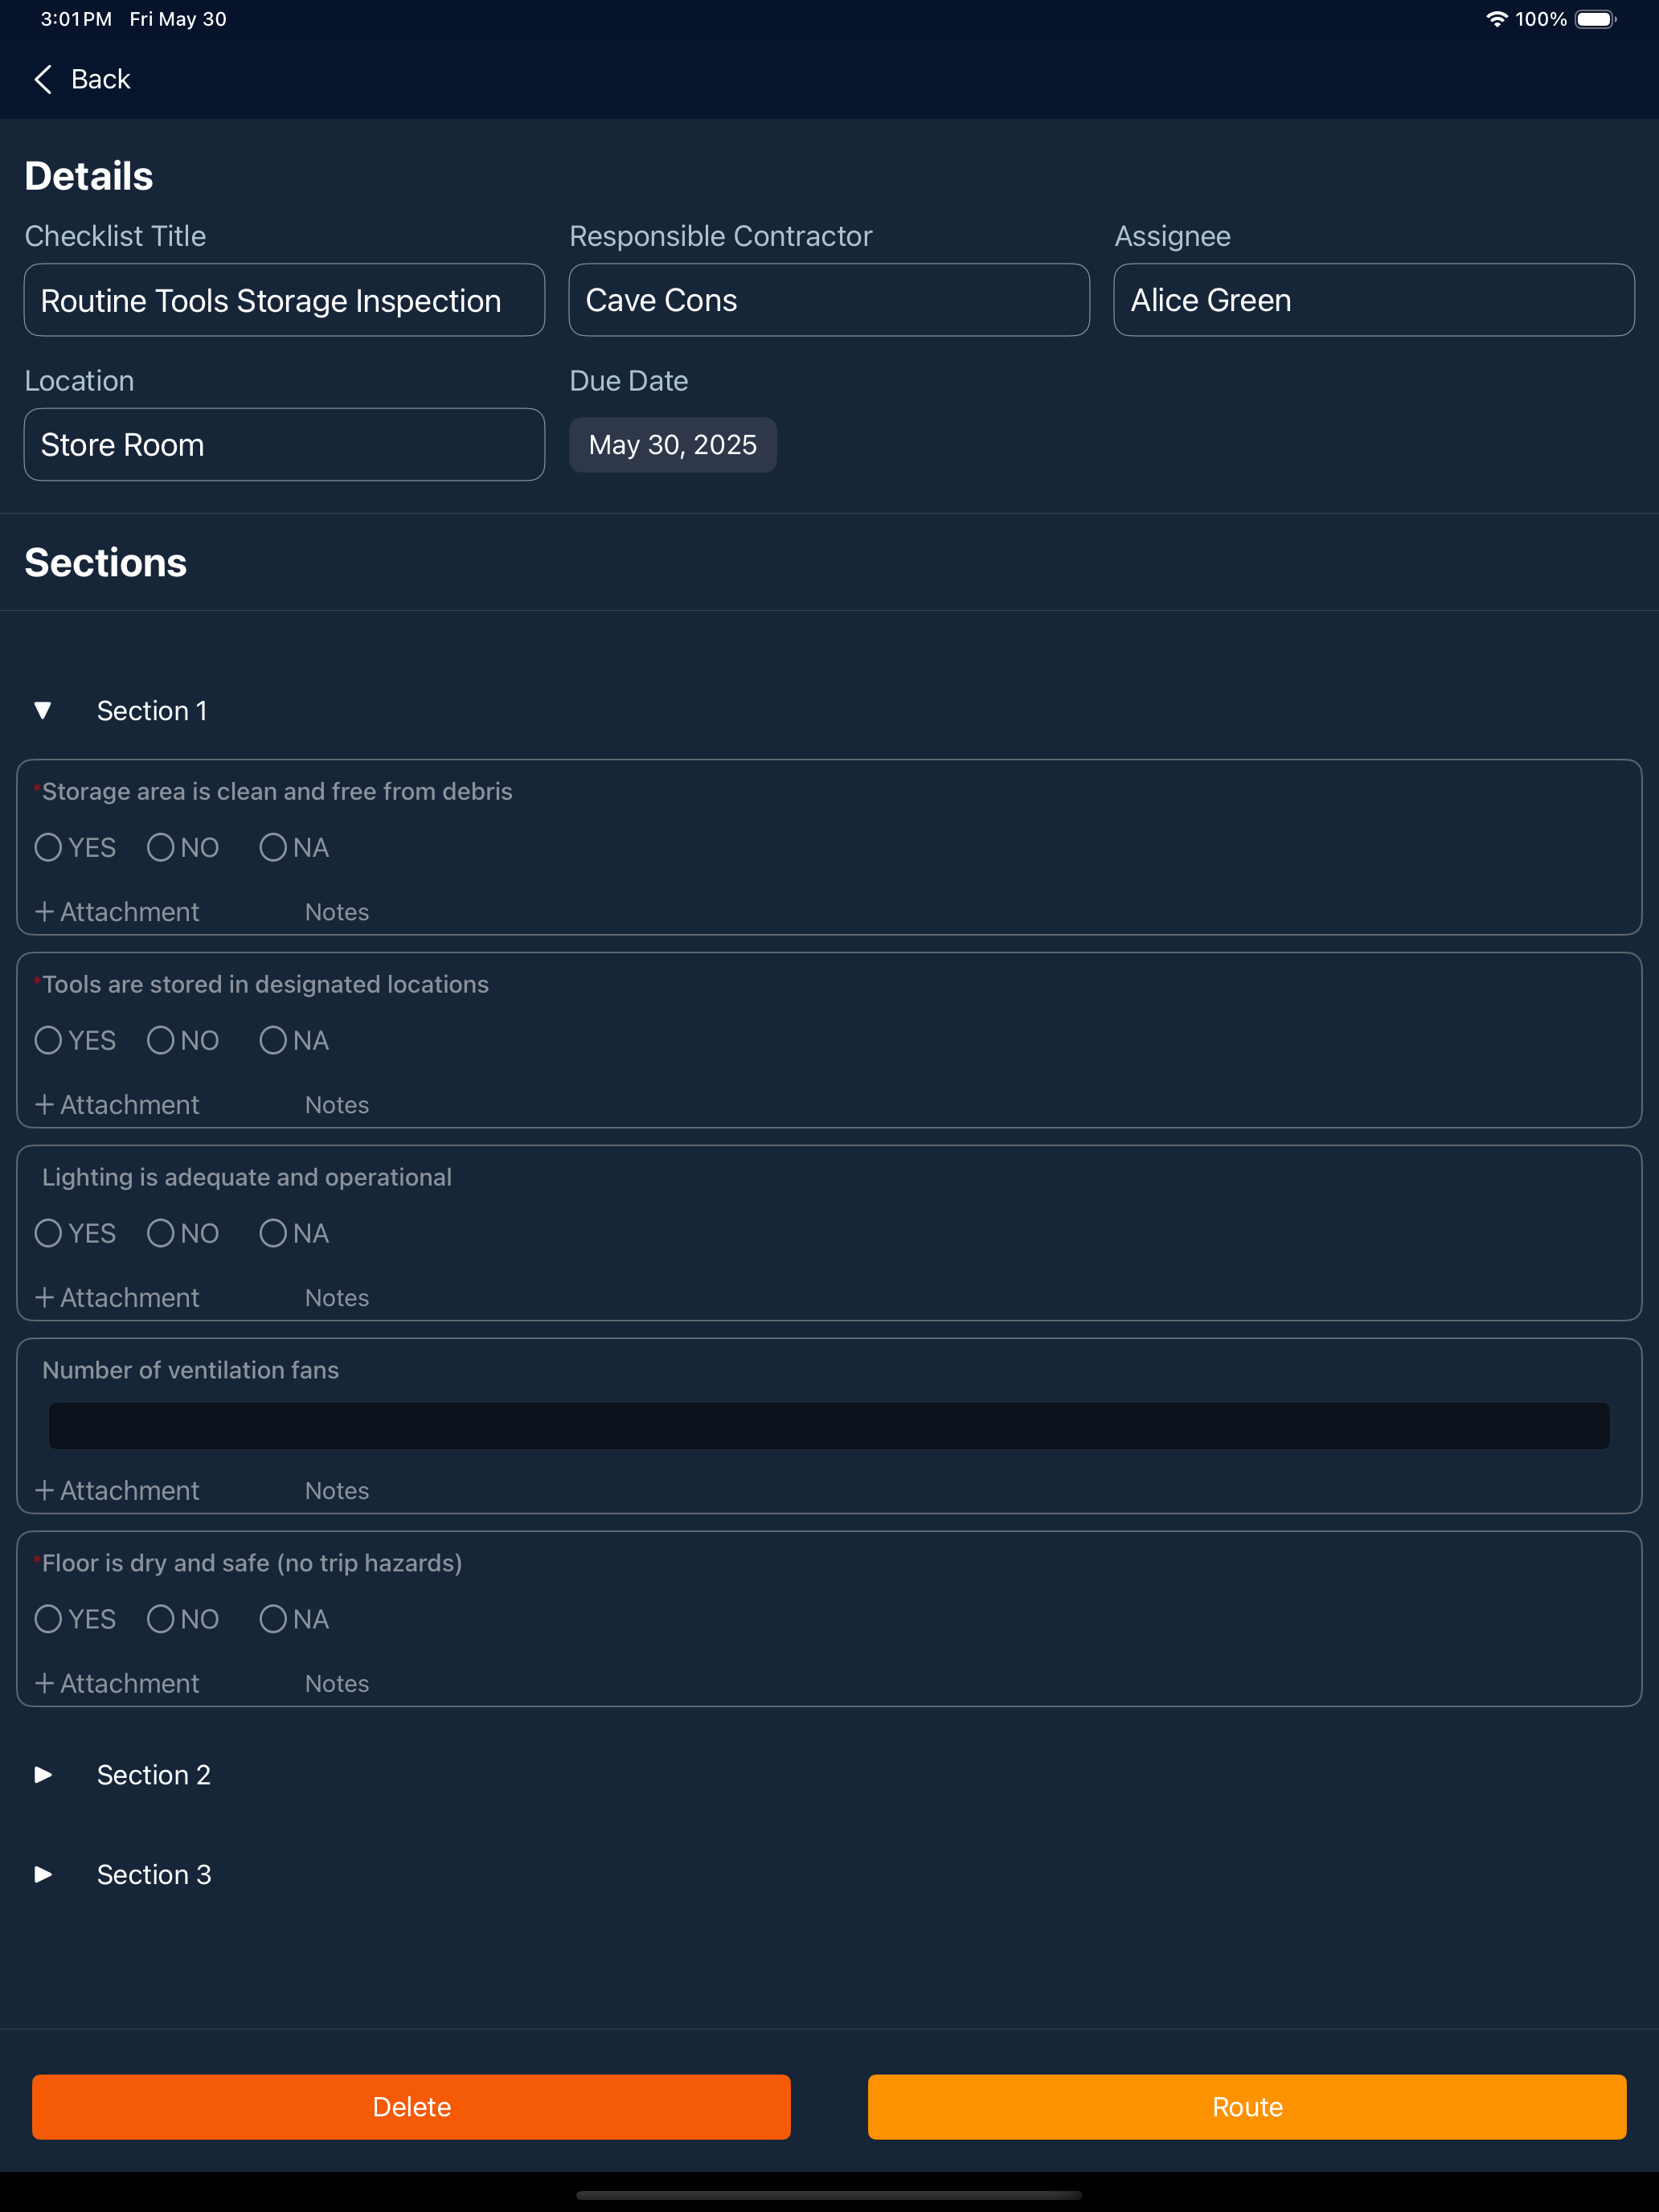
- Tap the 'Route' button at the bottom to forward the checklist to the next step.
- Tap the 'Delete' button to delete the draft and start from the beginning.
The checklist is sent to the responsible party once routed, typically the project manager of the assigned contractor, who will be notified of the assignment. Upon receiving the checklist, the responsible manager can review the details and assign it to a specific team member within their organization to carry out the task.
Was this article helpful?
That’s Great!
Thank you for your feedback
Sorry! We couldn't be helpful
Thank you for your feedback
Feedback sent
We appreciate your effort and will try to fix the article