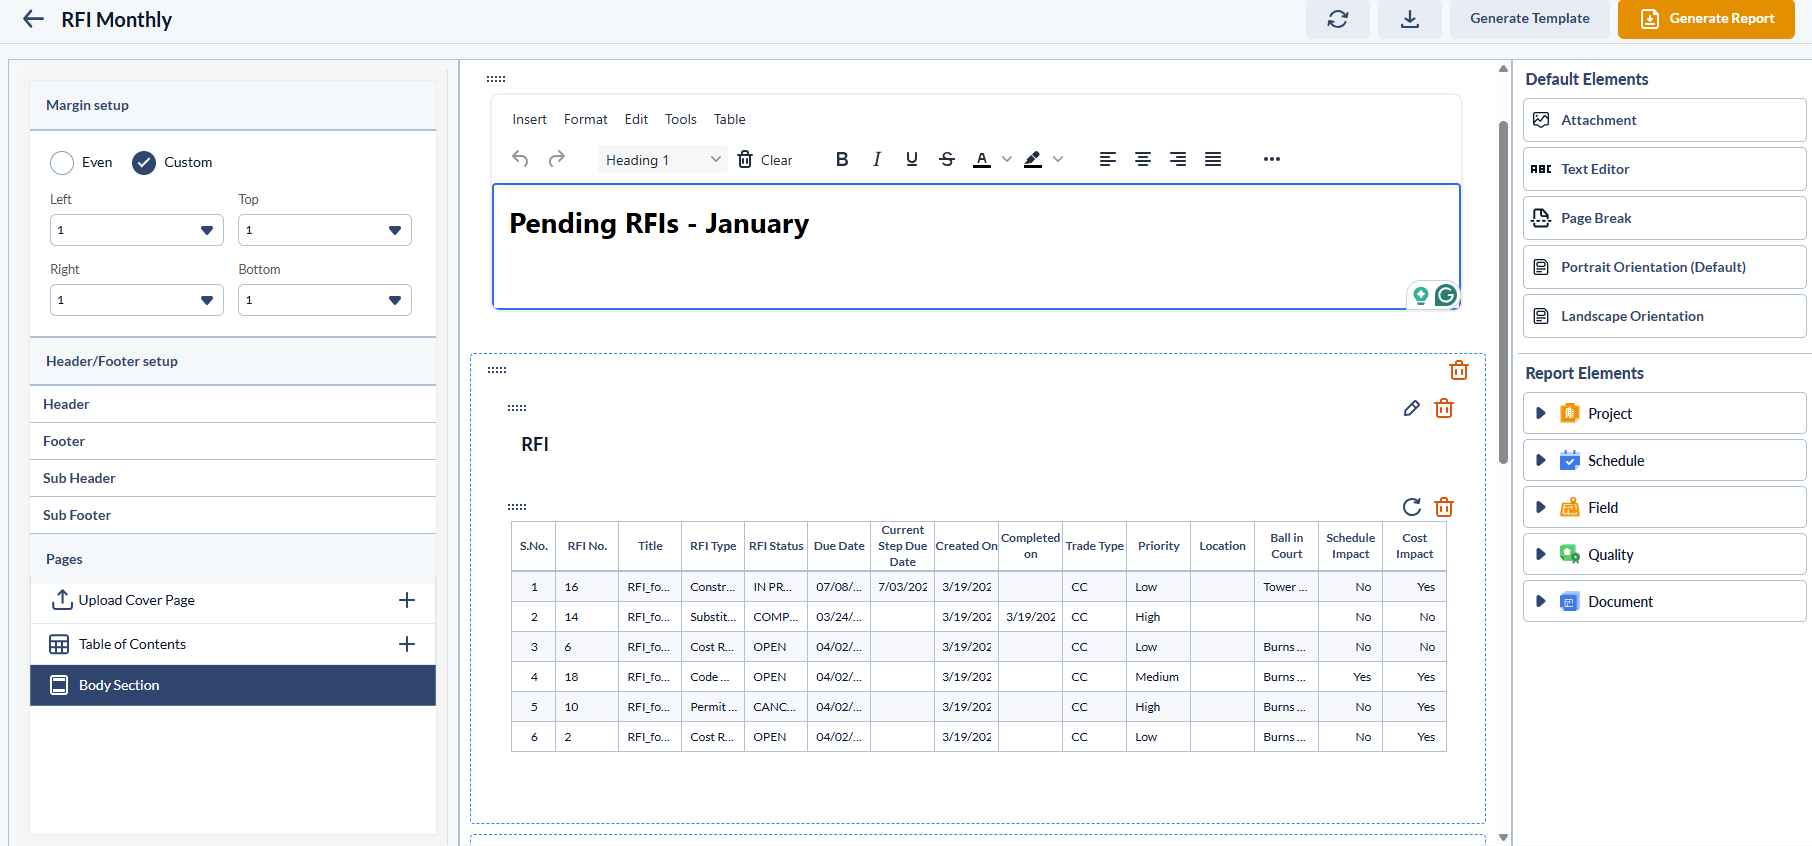
The Report Builder offers flexible editing options for saved templates and existing reports, enabling you to customize your report's appearance and layout before generating it. you can:
- Customize the Header and Footer - Add or remove elements such as the company logo, report generation date, and page numbers.
- Modify the splash page - Change the cover page of your report to fit your preferences or branding.
- Enhance report content - Insert new elements like text notes, attachments, page breaks, data tables, and more.
- Manage existing elements - Remove or reposition blocks to achieve your desired layout.
- Edit text content - Refine text elements to ensure clarity and consistency.
- Manage report data tables - Add or remove report data tables as needed to present relevant information.
To edit a template or an existing report
- Ensure you are on the project admin console. If not:
- Click the app launcher
 and select 'Project' from the drop-down.
 - Click 'Project' on the top
- Click the app launcher
- Click 'Report Builder' and 'Reports' on the left to open the Reports screen
OR
- Click 'Report Builder' and 'Templates' on the left to open the templates screen
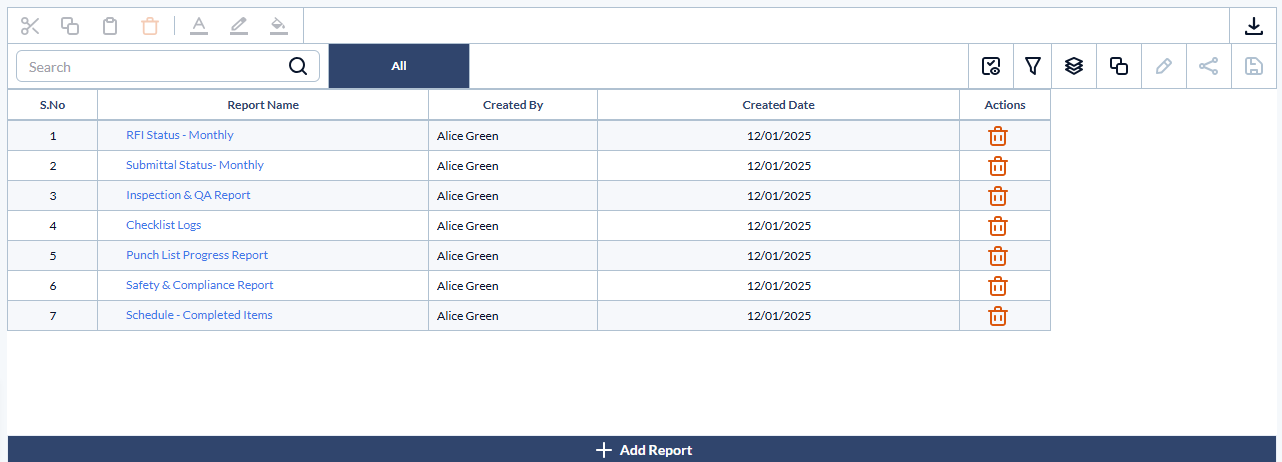
Search, filter and sort options:
- Use the 'Search' box located at the top left to find any change order of any project using any value from the table as search criteria
- Hover the mouse and click the 'Sort' icon next to the column header to sort the table in ascending order by that column. Click the icon again to sort the table in decending order.
- Right-click the column header and customize the display and order of the columns as you wish
- The options at the top right allow you to filter the entries, create nested groups of entries, and manage personalized and customized views of the table. Use the links below to learn more about these:
Download List in Excel Format
- Click the
 icon to download the list as an Excel sheet. See Download List Views and Logs in Excel Format for more

Tip:
You can modify a system-generated template to fit your needs and save it as a new custom template for report generation. This allows you to tailor reports while maintaining the integrity of the original system-generated templates.
- Click the name of the template or the report you want to open and edit
Use the following links to jump to the section you need help with:
- Add New Elements
- Edit Text Elements and Headings
- Remove Existing Elements
- Remove Existing Element Group Block
- Relocate Existing Elements
- Relocate Existing Element Group Block
Add New Elements
Inserting new elements, including general elements like text blocks, attachments, and page breaks, and adding report table elements to an existing template is similar to adding the elements during their creation. See Create New Template for guidance.
Edit Text Elements and Headings
- Move your mouse over the element to reveal the edit options
- Click the
 icon to open the text editor
 - Change the text or heading as required

Your changes are auto-saved.
Remove Existing Elements
- Move your mouse over the element to reveal the edit options
- Click the
 icon to remove the element and confirm your action

Remove Existing Element Group Block
- Move your mouse over the group block to reveal the edit options
- Click the
 icon located at the top-right corner within the block's boundary to delete the element, then confirm your action.

Relocate Existing Elements
- Hover your mouse over the element to display the available editing options
- Click and hold the ellipsis at the top-left, then drag the element to your desired location within the report
- Release the mouse button to drop the element into its new position

Tip: You can drag and drop an element from one group to another seamlessly.
Relocate Existing Element Group Block
- Hover your mouse over the group to display the available editing options
- Click and hold the ellipsis at the top-left, then drag the element to your desired location within the report
- Release the mouse button to drop the group into its new position

Your changes are auto-saved.
- Click the
 at the top-right to generate the report. The system generates a PDF version of the report, incorporating the most up-to-date data for all included items.
The confirmation dialog appears with your signature. If you haven't registered your signature to your user profile yet, you will be prompted to do so.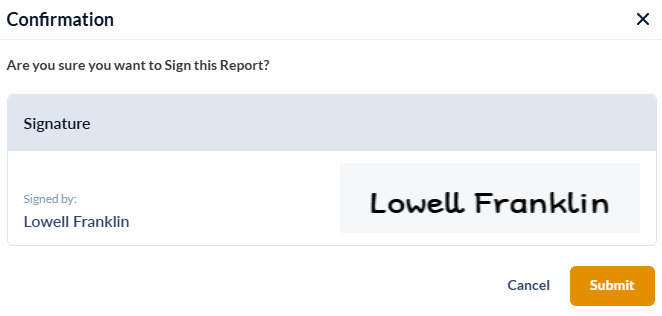
- Click 'Submit' to proceed
- Click
 to download after around 30 secs to open the 'Downloads' pane.
 - Click
 button to save the elements as a template for future use.
Was this article helpful?
That’s Great!
Thank you for your feedback
Sorry! We couldn't be helpful
Thank you for your feedback
Feedback sent
We appreciate your effort and will try to fix the article