To ensure the team is always working with the most up-to-date information, responsible team members can easily upload revised plan drawings. Uploading a revision follows the exact same process as uploading an original set.
- Automatic Versioning: If an uploaded sheet has the same number as an existing sheet, the system automatically saves it as the newest version. Users will always see the latest drawing by default, but can easily toggle to previous versions from the same screen.
- Flexible Organization: When adding new versions to an existing plan set, the system automatically creates a subset by appending a serial-number suffix to the set name. Alternatively, you can choose to upload revisions as a completely new set.
Tip: If your plan revisions come through your external drive like SharePoint, Egnyte, or Dropbox, you can connect your external drive folder and turn on 'Auto Upload' to import the revised files automatically. See Set Up Auto Upload from External Drive.
Upload an Updated Version of a Plan Set
Click the Main Menu icon at the top-left of your screen.
Select 'Plan Sheets' under the 'Documentation' section of the drop-down menu
Choose 'Plan Sets' on the left.
There are two ways to upload a revised set of sheets:
1. Upload via manin menu
- Click 'Upload Set' on the top right

- Choose the plan set to which you want to upload new/revised sheets under 'Upload from existing set'
- Click 'Next'
2. Upload Directly from an Existing Set (Shortcut)
- Click on the existing plan set to open it.
- Click the Upload button located at the top-right of the screen to begin adding your revised sheets.
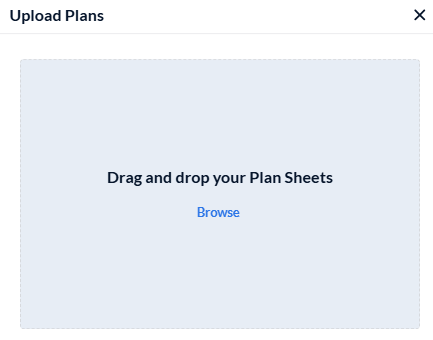
- Click 'Browse' and navigate to the plan file set or individual sheet file to be uploaded. Accepted file formats are PDF and all image file formats.
- Alternatively, drag and drop the plan file set(s) or individual sheets to the 'Upload Plans' box.
The system starts uploading the files:
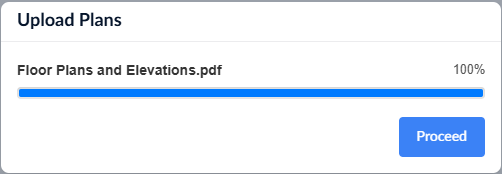
- Once complete, click the 'Proceed' button for the AI to start processing the file and scanning the individual sheets.
Linarc automatically parses uploads into individual sheets, using intelligent algorithms to extract metadata (e.g., sheet number, name, and discipline) for display in a comprehensive list.
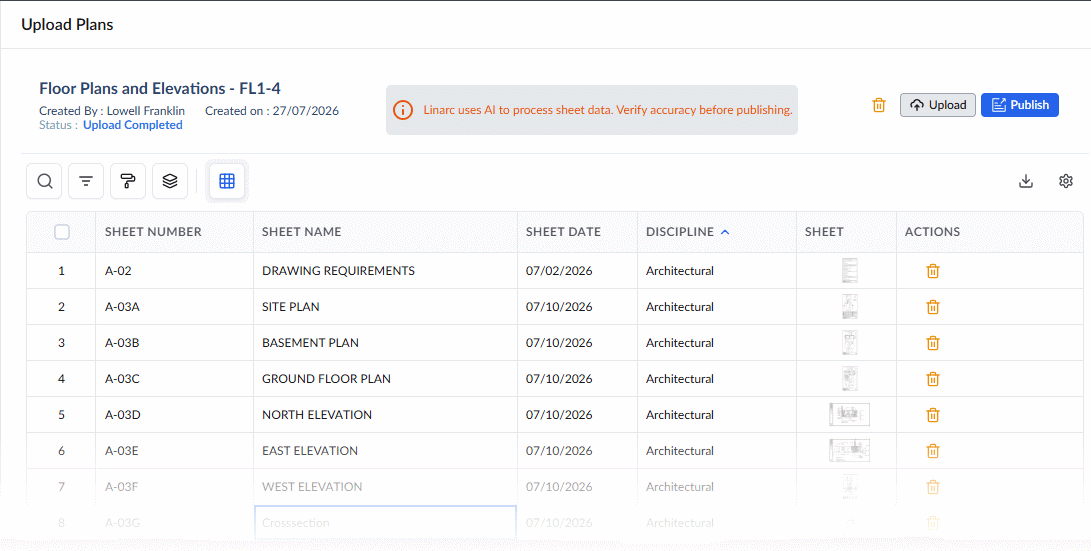
- Review the details.
If any information is missing or incorrect—such as when text on the sheet is unclear or located in an unusual position—you can manually update the details.
- Open the plan sheet by clicking its thumbnail.
- Double-click any cell to edit its contents.
- For 'Discipline,' select the appropriate option from the drop-down list.
- For 'Date,' choose the date from the calendar that appears when you click the cell.
You can also duplicate values using standard copy-paste actions.
- Use the keyboard shortcuts Ctrl+C and Ctrl+V to copy and paste cell contents.
- To paste a value into multiple cells simultaneously, hold Ctrl or Shift to select multiple cells, then paste. This is especially useful when filling similar values across consecutive entries and adjusting them as needed.
- Click 'Upload' and repeat the process to add more sheets to the set.
- Once you are done, click
 at the top to save the sheets to the project
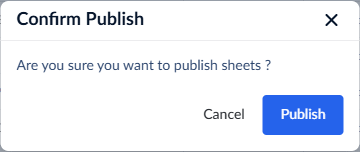
- Click 'Publish' in the confirmation dialog
The plans module creates a new subset for the chosen plan set and adds the uploaded sheets to it. The new subset is named as the main set with a serial number suffix. For example, the first subset of the set 'FLO' is named 'FLO-1.'
Once published, in order for other team members from different collaborating organizations to access the new versions, you need to share the set with them. See Share Plan Sets for guidance on sharing the newly uploaded set.
- Repeat the process to add more revisions and new sheets at any time.
Was this article helpful?
That’s Great!
Thank you for your feedback
Sorry! We couldn't be helpful
Thank you for your feedback
Feedback sent
We appreciate your effort and will try to fix the article