List views in all Linarc modules like RFI, Submittal, Change Order, Punchlist, and others allow you to efficiently organize and navigate items using nested grouping. This feature helps you quickly locate entries of interest by grouping items based on shared column values.
Nested Groups
You can create multiple levels of grouping by selecting one or more columns. For example:
- Start by grouping RFIs by the Trade Type of the contractor.
- Then, add a second grouping by Priority to further organize RFIs within each trade.
The result is an accordion-style view, where each parent group can be expanded to reveal its nested child groups, making the data more structured and easier to scan.
- Grouping is flexible—you can apply multiple levels in sequence to tailor the view exactly to your needs.
Automatic Subtotals
The system automatically calculates subtotals for all applicable numerical fields in each last-level (leaf) group. These subtotals appear as the final row within each group, giving you a quick summary without manual calculations.
Custom Views
You can save any grouped view as a custom view, making it easy to return to a specific layout whenever needed. These views can also be shared with team members to ensure consistency across your organization.
To learn more, see Manage Custom List Views.
Grouping works consistently across all table views in the system. While this article uses the RFI list view as an example, the same method can be applied in any module—helping you structure your data based on the criteria that matter most to you.
To add grouping rules
- Click the group icon

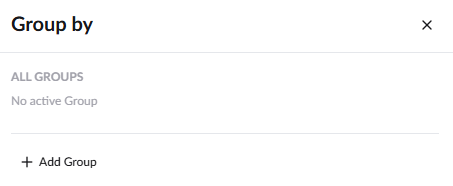
- Click '+Add Group'
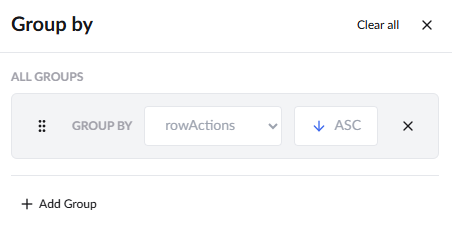
- Select the column as your first grouping criterion. The gird is grouped with respect to the selected column in ascending order by default.
- Click the
 button to toggle the order to descending
- Click '+Add Group' and repeat the process to add nested groups
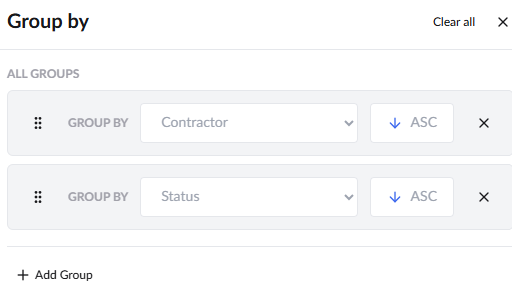
- You can easily adjust the order of nested groups by dragging and dropping the grouping criteria, allowing you to rearrange the hierarchy to suit your needs.
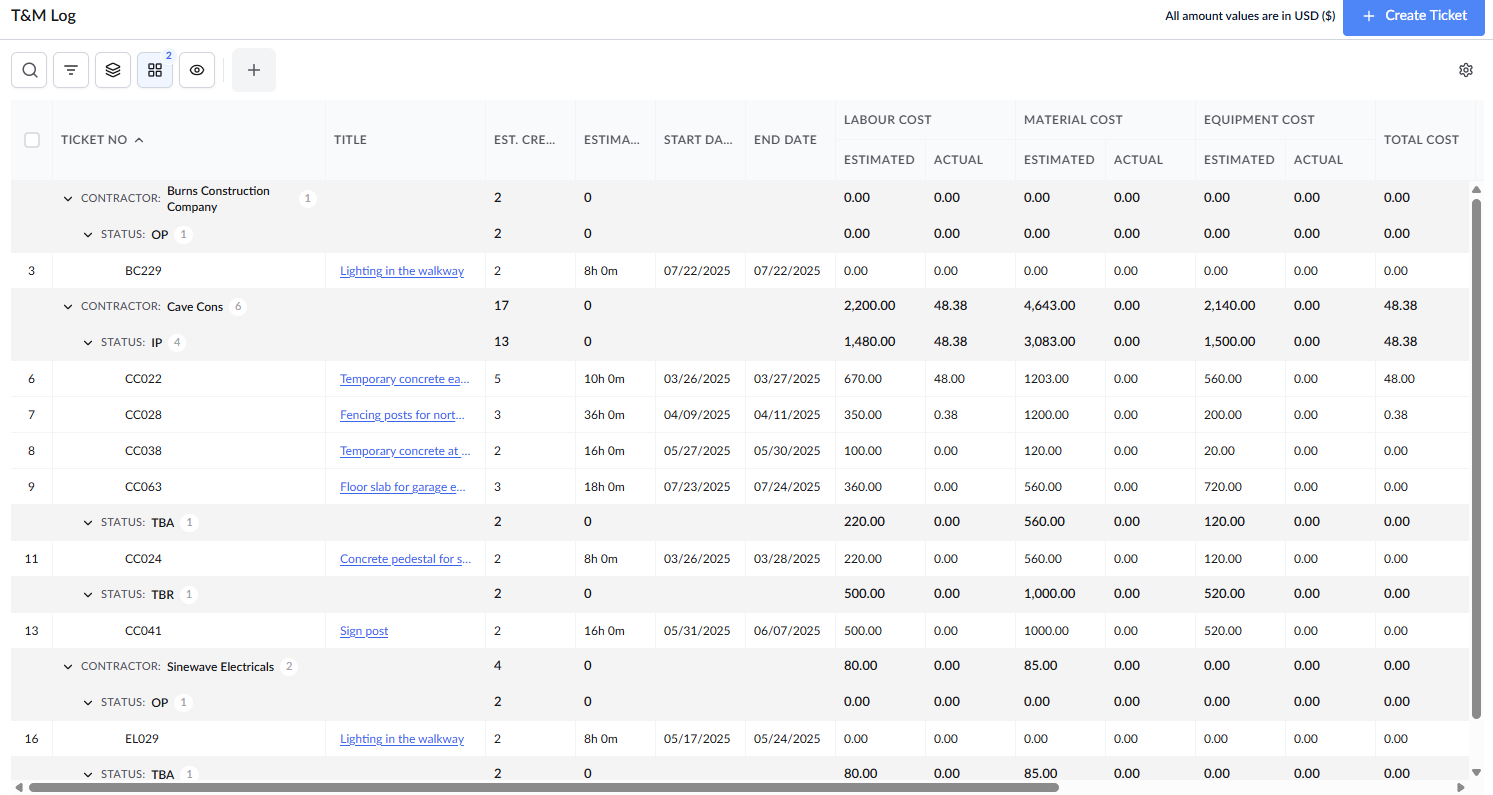
In the example above, T&M log is initially grouped by contractor assigned, followed by grouping the line items under the contractor based on the status of the T&M ticket. You can continue adding as many grouping criteria as needed to further drill down and organize the items. By default, all numerical data is aggregated to display a summary at the top of each group.
- Click X near the grouping category to remove that individual group.
- Click 'Clear all' at the top to remove all groups at once.
Was this article helpful?
That’s Great!
Thank you for your feedback
Sorry! We couldn't be helpful
Thank you for your feedback
Feedback sent
We appreciate your effort and will try to fix the article